Data Model的任何變化(例如attribute renaming或add entity)基本上都要有個mapping的機制,core data才能依據不同model版本做升級,除非舊版資料你不要了,那就是直接砍掉建新的,也不用看本篇文章XD
Apple的Core Data提供貼心快速的Lightweight Migration,只要你的異動程度符合如下情況
- Simple addition of a new attribute
- Removal of an attribute
- A non-optional attribute becoming optional
- An optional attribute becoming non-optional, and defining a default value
- Renaming an entity or property
都可以不用自己寫mapping,而是透過Apple的機制無痛升級!
簡單描述升級步驟
STEP 1 選取你要升級的Model(副檔名xcdatamodel)
STEP 2 從Menu選擇「Editor→Add Model Version...」
這邊是從第一版升(ClientLogModel.xcdatamodel)到第二版,所以是base on原始的ClientLogModel,然後替第二版取個帶有版本號的新名稱ClientLogModel 2
STEP 3 變更current model為ClientLogModel 2
STEP 4 開始編輯entity或attribute
除了修改entity結構,當初透過「Editor→Create NSManagedObject Subclass...」建立給entity套用的class也要自己做相對應的調整,又或者再次透過「Editor→Create NSManagedObject Subclass...」操作直接更新前一版的subclass
STEP 5 加上
最關鍵的程式碼,要求啟動Lightweight Migration
NSError *error = nil;
NSURL *storeURL = <#The URL of a persistent store#>;
NSPersistentStoreCoordinator *psc = <#The coordinator#>;
NSDictionary *options = [NSDictionary dictionaryWithObjectsAndKeys:
[NSNumber numberWithBool:YES], NSMigratePersistentStoresAutomaticallyOption,
[NSNumber numberWithBool:YES], NSInferMappingModelAutomaticallyOption, nil];
[psc addPersistentStoreWithType:<#Store type#>
configuration:<#Configuration or nil#> URL:storeURL
options:
options error:&error];
STEP 6 跑跑看你的程式,已經無痛升級不會再報下列錯誤
The model used to open the store is incompatible with the one used to create the store.
參考資料
Lightweight Migration from Apple Document
Core Data Migrations Tutorial: Lightweight Migrations
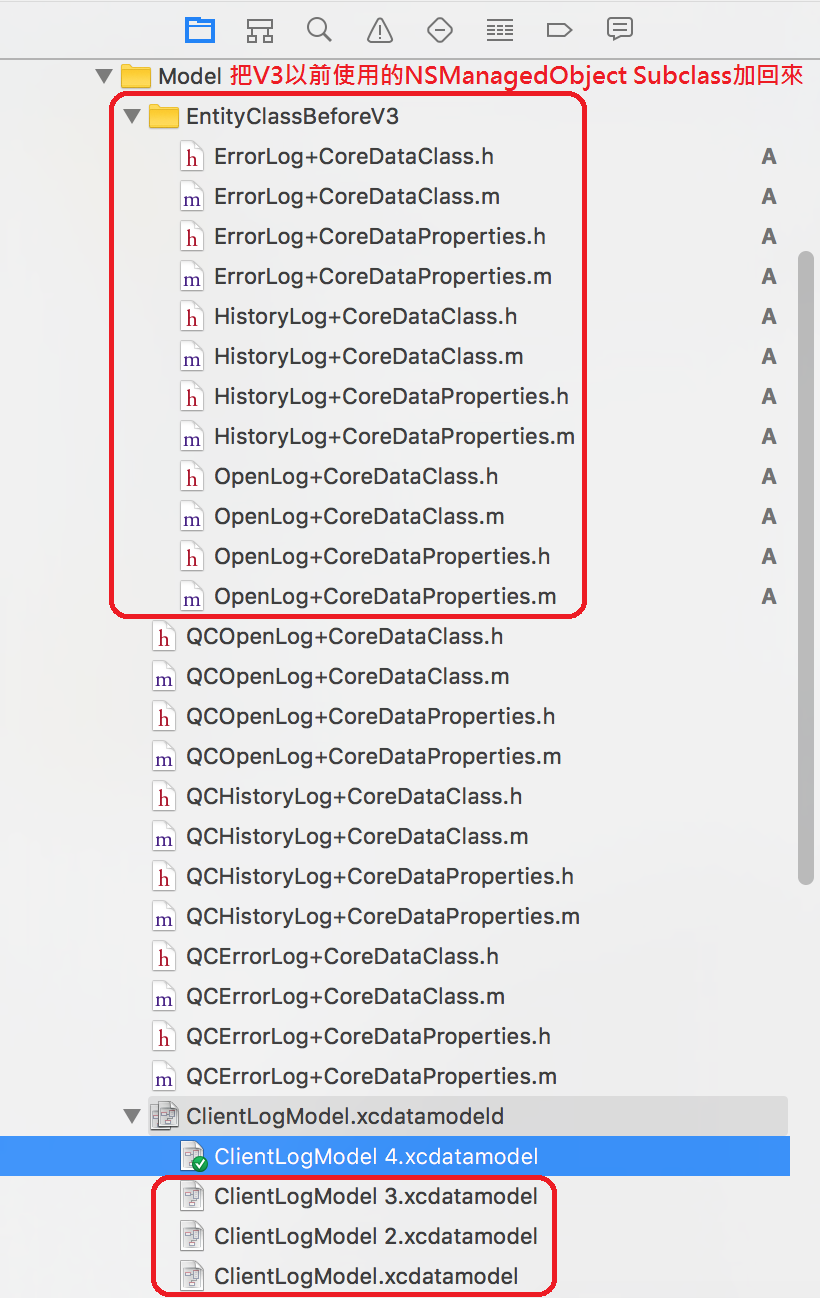
2017.01.20 補充 "修改Entity名稱"遭遇問題
今天把所有Entity都rename,想說舊的entities和相關的NSManagedObject Subclass都不用到,就刪光光,結果Lightweight Migration失敗@_@
後來才想到,舊版資料都刪掉,Lightweight Migration不知道新舊版的mapping,要如何幫我自動升級啦XD
再回頭把垃圾桶裡的舊class加回來,就好嚕>////<
上述作法若還是有問題,可以替你的NSManagedObjectContext加上MergePolicy設定值
[[self managedObjectContext] performBlockAndWait:^{
[[self managedObjectContext] setMergePolicy:NSMergeByPropertyObjectTrumpMergePolicy];
}];
參考資料